Hey there! Thinking about doing your own French tips at home? Let me tell you, it's totally achievable with the right tools and a little patience. Honestly, the secret isn't some crazy artistic skill—it's all about gathering everything you need before you start. A little prep work makes all the difference between a streaky mess and a clean, crisp line with a lasting finish.
Ready to give it a try? Let's dive in!
Gathering Your French Manicure Toolkit
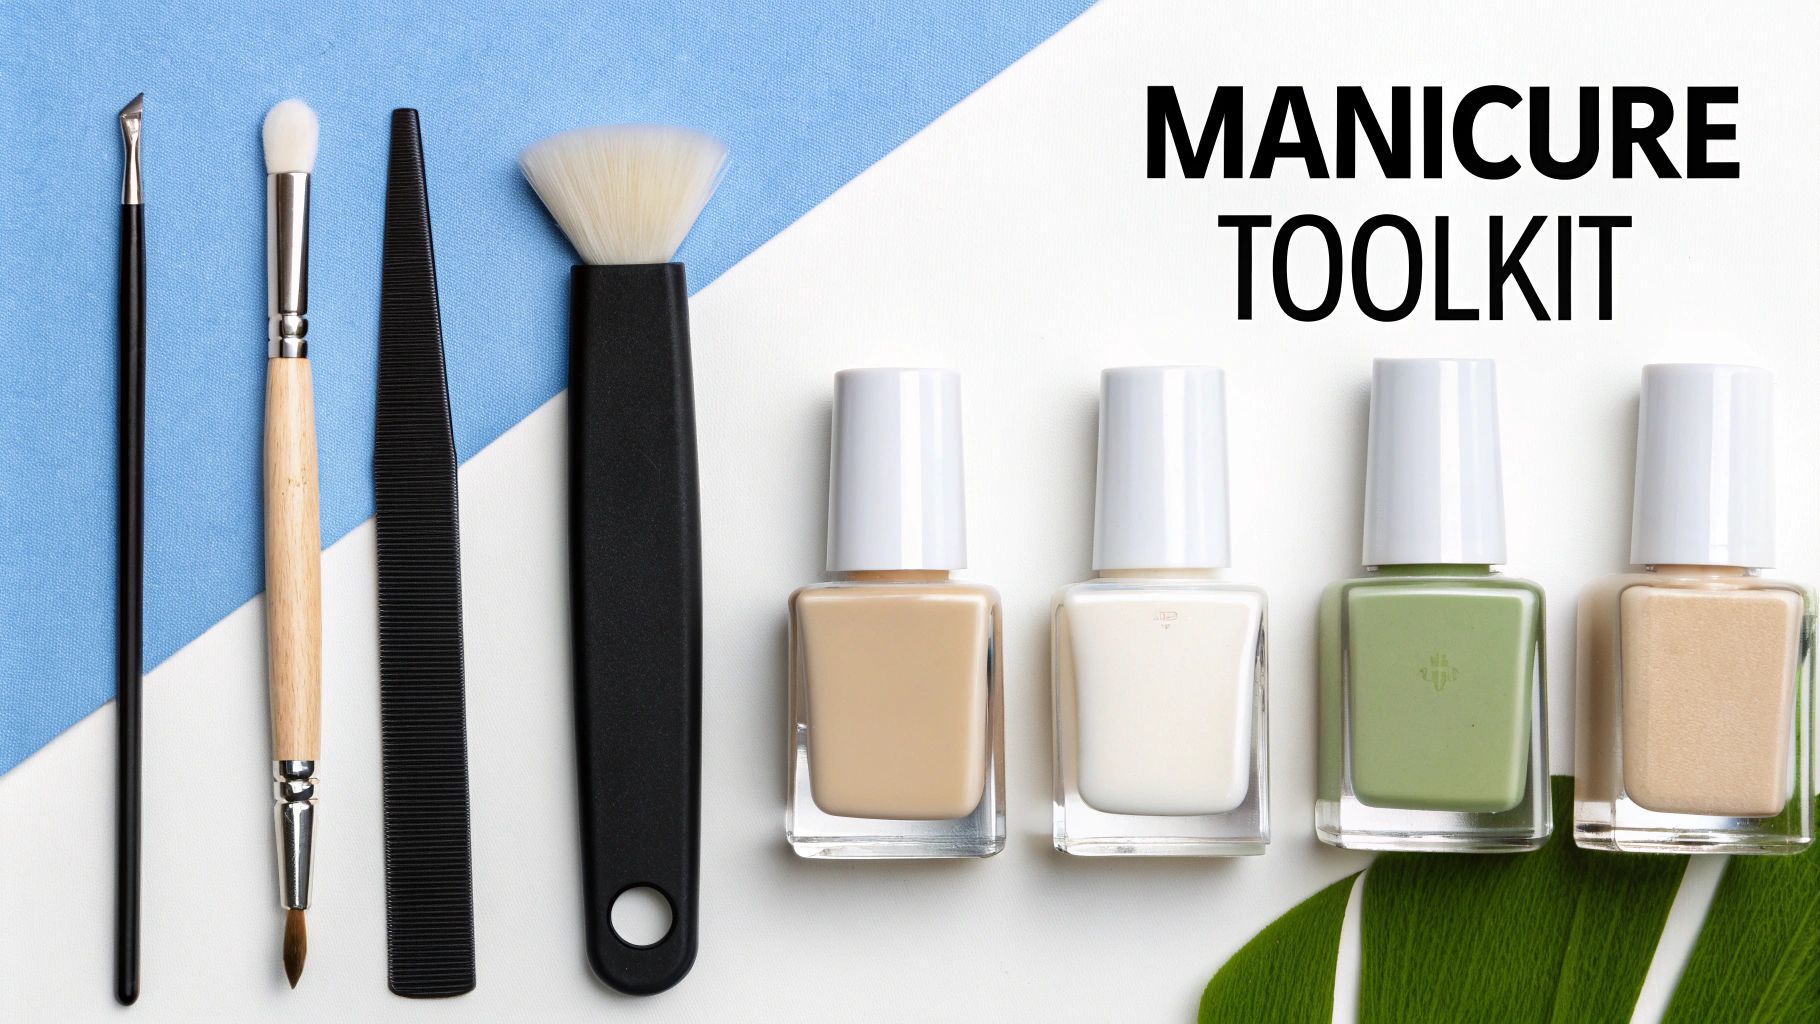
Before you even think about painting, you need to assemble your mission control. Having your toolkit ready prevents those frantic, wet-nail searches for a cotton swab that always end in smudges. This turns the whole process from a stressful chore into a relaxing self-care moment.
Think of it like baking a cake; you wouldn’t just start throwing ingredients in a bowl without measuring them first, right? This preparation is what truly separates a DIY look from a salon-quality finish.
To make it super simple, here's a quick rundown of everything you should have on hand.
Your At-Home French Manicure Essentials
This table is your quick reference for the must-have items and why they're crucial for achieving that professional look without leaving your house.
| Item | Why You Need It | Pro Tip |
|---|---|---|
| Sheer Base Color | This soft pink, nude, or milky beige evens out your nail plate and creates that classic, elegant backdrop. | Apply two thin coats to hide any imperfections on your natural nail. |
| Crisp White Polish | This is for the tip. Look for an opaque white with a thin, controllable brush for precise application. | If the brush is too thick, gently wipe one side on the bottle's rim for a finer line. |
| High-Shine Top Coat | Non-negotiable! It seals your design, prevents chips, and delivers that glossy, just-left-the-salon shine. | "Wrap" the top coat over the free edge of your nail to seal it and prevent premature chipping. |
| Nail Tip Guides | These little stickers are a lifesaver for beginners, creating a perfect stencil for a smooth curve. | Make sure the sticker is pressed down firmly, especially at the edges, to prevent polish from bleeding underneath. |
| Cleanup Brush & Acetone | A small, stiff brush (an old eyeliner brush is perfect) dipped in acetone is your secret weapon for fixing wobbly lines. | Work quickly! Clean up any mistakes before the polish has a chance to fully dry for the sharpest lines. |
| File, Buffer & Cuticle Pusher | Proper prep is half the battle. These tools create the smooth, clean canvas your masterpiece deserves. | Gently buffing the nail surface helps the polish adhere better and last longer. |
Getting these few things together is the first real step toward a flawless French manicure. It's a small effort that pays off big time in the final result.
The boom in at-home nail care is huge, with the global market for these products estimated at USD 23.6 billion in 2024. It just goes to show how many of us are investing in creating beautiful nails ourselves.
Once you've mastered the classic French tip, you can get creative with different styles. For some great ideas, check out our guide on the latest gel nails design.
Prepping Your Nails for a Lasting Manicure
Ever wonder why salon manicures seem to last forever while yours chips in a day? The secret isn't some magic polish—it’s all in the prep work. Honestly, skipping these first few steps is the number one reason at-home manicures, especially something as precise as French tips, don't make it past day three.
Creating the perfect canvas is everything. This starts with getting a consistent shape across all ten nails.
Whether you love a classic square, a soft almond, or a trendy "squoval," the key is making each nail a mirror of the others. That uniformity is what gives your final look that polished, professional edge. If you're not sure what style works best for you, check out these stunning nail shapes design ideas for some inspiration.
Shape and Refine Your Nails
Grab your file and start shaping. Always file gently and in one direction to avoid splitting your nails. That back-and-forth sawing motion might feel faster, but it actually weakens the nail, so stick to smooth, deliberate strokes moving from the side toward the center.
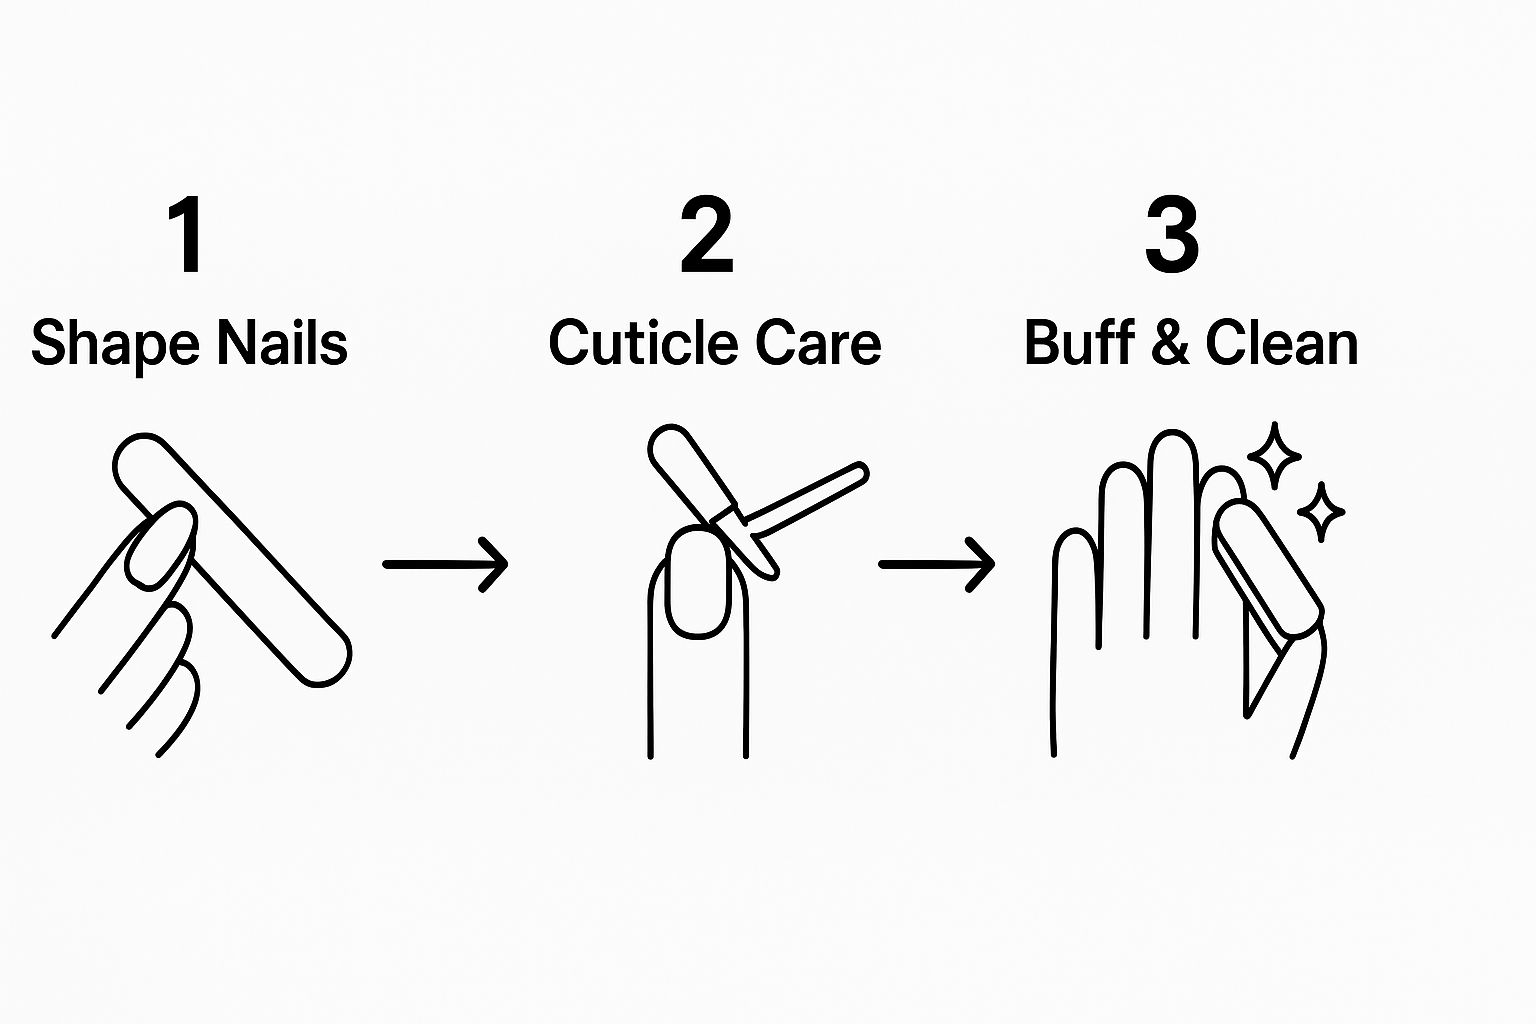
Next up: cuticle care. Please, whatever you do, avoid cutting your cuticles! It can lead to damage, nicks, and even infection. A much better approach is to apply a dab of cuticle remover and then gently push them back with an orangewood stick or a metal pusher. This simple move instantly makes your nail beds look longer and cleaner.
Once shaping is done, it’s time to deal with the enemy of long-lasting polish: oil.
Lightly—and I mean lightly—buff the surface of your nails. This creates a slightly textured base that gives the polish something to grip onto.
Then, for the final and most crucial step, wipe each nail with a lint-free pad soaked in rubbing alcohol or a dedicated nail cleanser. This dehydrates the nail plate temporarily, removing every last trace of oil and ensuring your base coat can adhere perfectly.
Now you're truly ready to paint.
Creating That Perfect, Crisp White Tip
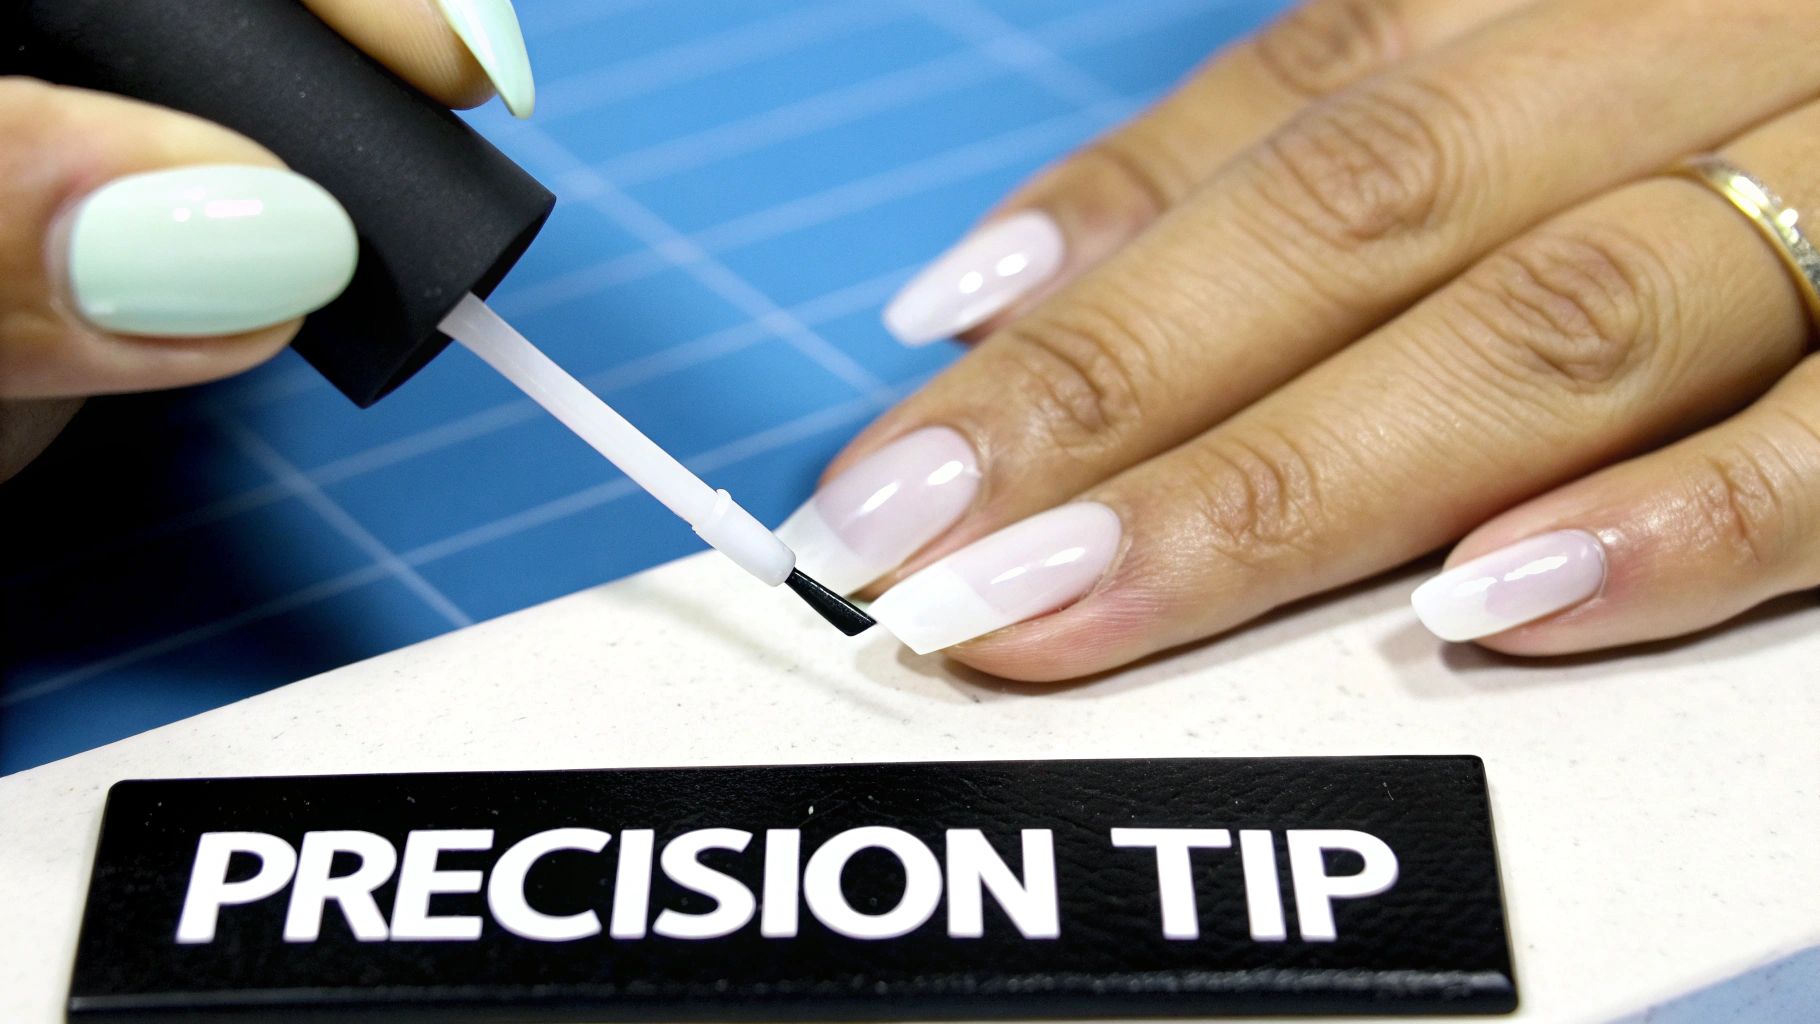
Alright, this is the moment of truth—painting that iconic white smile line. It can feel like the trickiest part of the whole process, but with the right technique, you’ve totally got this. We'll walk through a few different ways to get that clean, sharp curve, so you can pick the one that feels the most comfortable for you.
The endless popularity of this look is a huge reason why the manicure service segment holds around a 32% share of the global nail salon market. It was valued at over USD 11 billion back in 2022, and this classic style keeps its momentum.
No matter which method you go with, the real secret is applying thin coats. A thick, clumpy tip is the number one giveaway of a DIY job. Always aim for two sheer layers of your white polish instead of one goopy one. It makes all the difference for a smooth, professional finish.
Method 1: The Beginner-Friendly Sticker Guides
If you're new to French manicures or just don't trust your hands to be steady, these nail guide stickers are your best friend. They work like a stencil, guaranteeing a perfect curve every single time.
- Placement is everything. Wait until your base coat is completely, 100% dry. Then, press the sticker firmly onto your nail, leaving the tip you want to paint exposed.
- Seal the edges. I can't stress this enough: pay special attention to the sides of your nail. Press the sticker down firmly to prevent any white polish from bleeding underneath and messing up your line.
- Paint and peel. Apply your white polish. Now, here's the crucial part—peel the sticker off while the polish is still wet. If you wait for it to dry, the polish can lift right off with the sticker, and you'll have to start over.
Method 2: The Classic Freehand Technique
Feeling a little more confident? Going freehand gives you total control over the thickness and shape of your tip. It just takes a little practice to nail it.
Start by wiping the excess polish off one side of the brush. Place the brush on one corner of your nail tip and gently sweep it across to the other side in one smooth, fluid motion. Don't stress if it isn't perfect on the first try! A small cleanup brush dipped in acetone is your secret weapon for sharpening that smile line. For a little inspiration, check out these gorgeous white French tip nails.
Method 3: The Silicone Stamper Hack
This is a game-changing trick that nail art lovers swear by for a flawless smile line. It’s surprisingly easy and works beautifully, especially if you have shorter nails.
Simply paint a little stripe of white polish directly onto a clear silicone stamper. Then, gently press the tip of your nail into the polish on the stamper at about a 45-degree angle. The soft silicone molds perfectly to your nail, creating a crisp, curved tip in seconds. It's magic.
Bring It All Together for That Salon Finish
You’ve done the hard part, and those white tips are looking crisp and perfect. But we're not quite done yet. The next couple of steps are what truly transform a nice DIY manicure into something that looks like you just walked out of a high-end salon.
This is where the magic happens—blending everything together for that seamless, elegant finish the French manicure is famous for. First up is a sheer wash of color. Finding the right translucent nude or soft pink polish is a game-changer; you want something that complements your skin tone and gives your nails a healthy, uniform glow. The goal isn't to cover up your work, but to flatter it.
Applying the Sheer Polish
The key here is to think in whisper-thin coats. One, maybe two, light layers are all you need. This will beautifully soften the line between the white tip and your natural nail, creating a subtle gradient that just looks right.
This sheer coat adds just a touch of warmth and pulls the whole look together. It’s not meant to hide the crisp white tip, but to make the transition look more polished and natural.
Honestly, this sheer layer is the real secret to making your at-home French manicure look professional. It bridges the gap between the stark white and your nail bed, giving it that cohesive, finished feel.
The Grand Finale: A Glossy Top Coat
And now, for the final, non-negotiable step: a glossy, high-shine top coat. Seriously, don't skip this. A good top coat is your manicure's best friend for a couple of critical reasons. First, it acts like a protective shield, sealing in your design and fighting off chips like a champ.
It also works wonders at smoothing over any tiny imperfections, like little ridges or bumps, giving your nails that plump, almost gel-like finish. Be generous with it. Apply one solid coat, and make sure to "cap" the free edge by swiping the brush along the very tip of your nail. This simple trick seals everything in and will make your manicure last so much longer.
If you’re feeling inspired and want to explore more variations, check out these stunning French tip nail styles and designs.
Troubleshooting Common French Tip Mistakes
It happens to the best of us—a shaky line, a stray smudge, or polish that just won’t behave. Don't panic and reach for the remover just yet! Think of this as your secret weapon for turning any little DIY mishap into a flawless finish without having to start the entire nail over.
Most of these common mistakes are surprisingly easy to fix with a little patience and the right technique. A clean, sharp smile line is the hallmark of a great French manicure, and getting it right is often the biggest hurdle at home. Let's fix it.
Correcting Shaky Lines and Uneven Tips
The most frequent issue is a white tip that’s too thick, wavy, or just plain uneven. Good news: this is a simple fix. Your secret weapon is a small, angled brush (an old eyeliner or lip brush works perfectly) dipped in a tiny bit of acetone or nail polish remover.
Here’s a look at how you can use a small brush to create that perfect, crisp smile line.
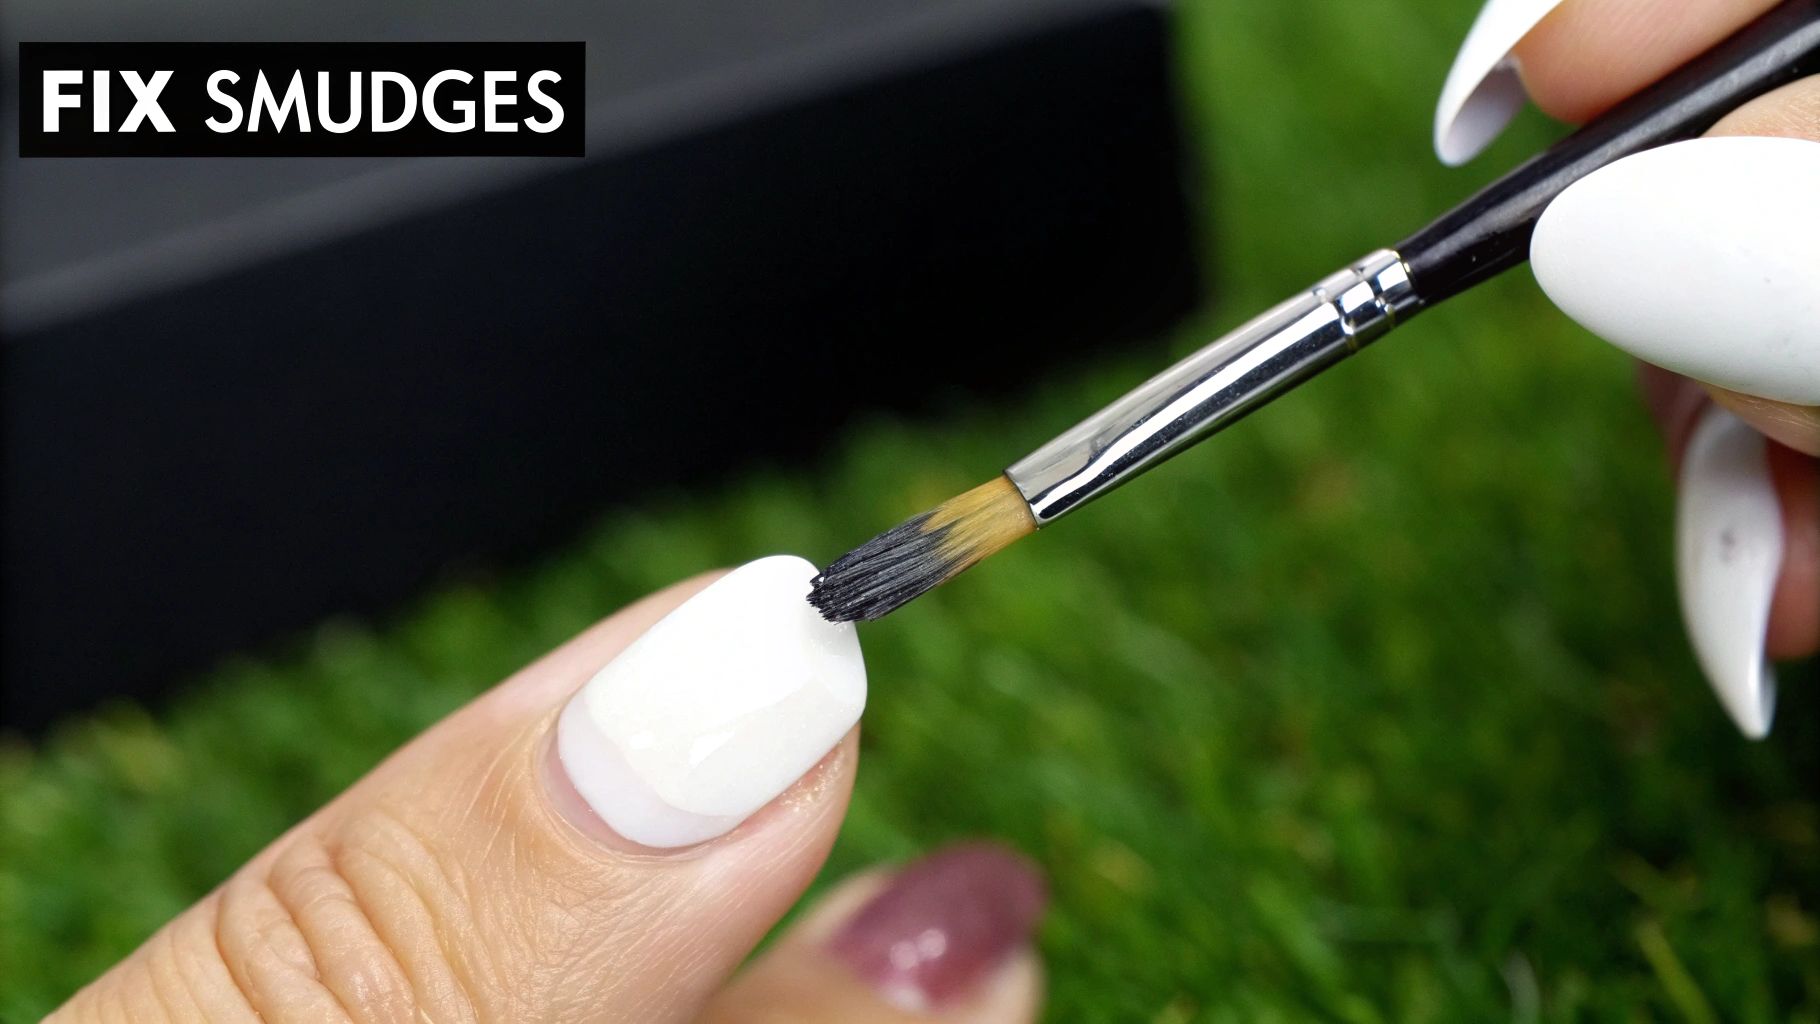
This technique lets you gently "carve out" a clean curve, erasing any mistakes and refining the shape of the white polish before it fully dries.
Of course, shaky lines aren't the only thing that can go wrong. Here's how to handle a few other common issues:
- Polish Bleeding Under Guides: This usually means the sticker wasn't pressed down firmly enough. Before painting, run your thumbnail along the edge of the guide to create a tight seal, especially at the sides of your nail.
- Bubbles in the Polish: Bubbles often form if you shake the polish bottle. Instead, roll the bottle gently between your palms to mix it. Applying coats that are too thick can also trap air, so always aim for thin, even layers.
- Smudged Top Coat: If you smudge your final top coat, wait a few minutes for it to become tacky. Then, dip a clean finger in a little nail polish remover and very gently pat the smudge to smooth it out. Follow up with another thin layer of top coat to blend it seamlessly.
For bigger fixes, like a broken nail tip, you might need a stronger solution. It's helpful to understand what your options are, so check out our detailed guide on whether nail glue is the same as super glue to learn more.
Frequently Asked French Manicure Questions
It’s one thing to learn the steps, but it’s another to troubleshoot the little things that pop up along the way. If you still have a few questions, you’re in good company! Getting your at-home French tips just right is a skill that takes a little practice.
Let’s tackle some of the most common hurdles so you can get that flawless, long-lasting finish you’re after.
How Can I Make My French Manicure Last Longer?
A manicure that chips in a day or two is beyond frustrating. The secret to making it last is all about the bookends of your process: the prep and the final seal. Always, always start with nails that are completely clean and free of any oils. And that base coat? It’s not optional—it gives the polish something to really cling to.
My absolute best trick for longevity is to 'cap' the free edge. Once you've applied your top coat, just swipe the brush very lightly along the raw tip of your nail. This creates a seal that makes a world of difference in preventing chips.
For extra credit, reapply a thin layer of your favorite top coat every two or three days. It’s a quick step that keeps the shine intense and adds another layer of protection.
What Is the Best Nail Shape for French Tips?
Honestly, French tips can work on almost any nail shape, but they look especially elegant and timeless on squoval (that perfect square-oval hybrid) and soft almond shapes. These shapes give you a beautiful, balanced canvas for the white tip that feels sophisticated, not severe.
But you know what’s even more important than the specific shape? Consistency. Making sure all your nails are filed to the same length and shape is what truly creates that polished, professional look.
Why Does My White Polish Look Streaky?
Ah, the dreaded streaky white tip. This is almost always the result of applying the polish too thickly. To get that crisp, clean line, your new mantra should be two thin, even coats—never one thick, goopy one.
Patience is key here. Let that first coat dry for at least a couple of minutes before going in with the second. This prevents the brush from dragging the first layer and allows you to build up a smooth, solid color. Also, make sure you're working with a good-quality white polish. Before you start, gently roll the bottle between your palms instead of shaking it to avoid those pesky air bubbles.
Ready to put these tips into practice and explore even more stunning nail art? NailDesigns4U is your go-to source for endless inspiration, from seasonal trends to timeless classics. Discover your next favorite look at https://naildesigns4u.com.
Article created using Outrank

